What Is the Best Temperature to Bake Bread
Homemade bread knowledge is an age-old practice that dates to 2000 BC. The Egyptians were the pioneers of baking fermented bread earlier other baking methods began. In New Zealand, bread was amidst the earliest foods regulated through their Staff of life Ordinance and Sale of Bread Act of 1863. During those days, New Zealand settlers used 2 processes to broil bread; the Mechanical Dough Development methods and Majority Fermentation method.
The latter method involved leaving the dough to ascent for two hours until it can be divided into the desired sizes; a practice that remains relevant fifty-fifty today. The mechanical Dough Development method, on the other hand, involved mixing the dough at loftier speed to reduce the time it needs to rise to x minutes.
During these days, breadstuff was baked in communal ovens, large masonry ovens, or open fire. The massive masonry ovens yielded great results, but the open fire baked loaves that were inconsistent in flavor, texture, and doneness considering it was difficult to maintain the required homemade staff of life temperature.
Modern inventions have made it somewhat easy to bake homemade staff of life. With electric ovens, bakers can easily regulate the temperature throughout the process of grooming, proofing, and baking. What's more, the ThermoPro food thermometers allow bakers to control the temperature more than accurately to heighten the fermentation procedure and achieve more consequent texture. The give-and-take further elaborates everything most homemade bread.
The Platonic Temperature during Training
a) Yeast Proofing
The temperature at which the dough is prepared affects how the yeast proofs and the last gustatory modality of the bread. Brainstorm by pouring warm water into a basin, adding sugar, and stirring until it has dissolved.
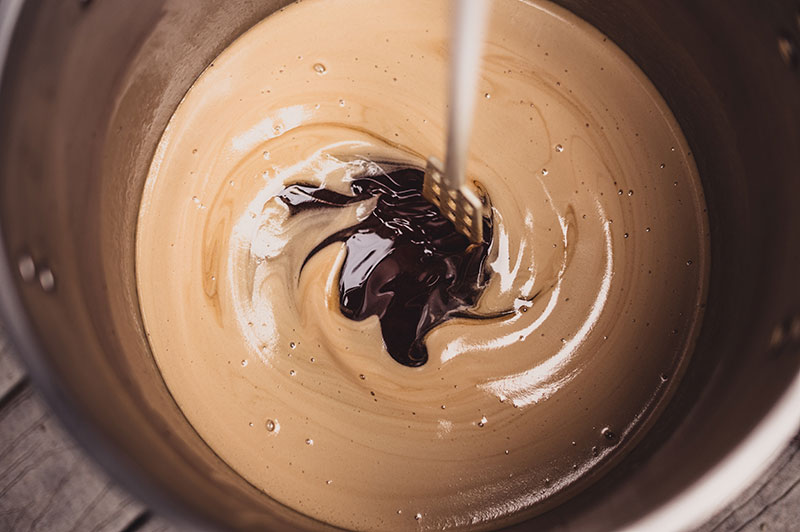
Ensure the temperature is within a range of 95 degrees Fahrenheit – 115 degrees Fahrenheit. Add a tablespoon of yeast and increase the temperature to 110-130 degrees Fahrenheit.
Using a higher temperature, due east.one thousand., 150 degrees Fahrenheit destroys the yeast before it proofs and temperature less than 105 degrees F causes the yeast to proof unevenly, which affects the final flavor of the bread.
Allow the mixture sit for five to six minutes before adding flour; the first 2-3 minutes allow the yeast to dissolve into the water while the other three minutes assistance grow the yeast. Tiny bubbling should develop on the surface; however, if you are using musty yeast, it does not have any effect. It explains why the proofing process is essential before adding the flour.
b) Adding the Flour
Add room temperature flour and salt to the mixture. Avoid adding freezing flour as it causes the dough to take a long time to rise. Whole-grain flour, for example, is best stored in a freezer to prevent rancidification.
If you lot are using such flour, it is appropriate to remove it from the freezer before the training process to permit it to warm up to room temperature.
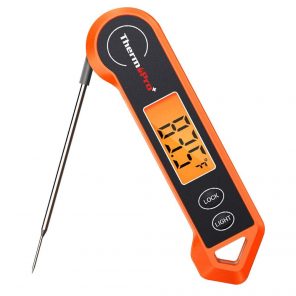
For accuracy, use the ThermoPro TP-03 Digital Instant-Read thermometer to measure out the temperature of the flour. Some people prefer sifting the flour through a sieve to increase its temperature. Mix the ingredients to set the dough for kneading.
This procedure should take 6-8 minutes to create a shine and less sticky dough.
Temperature When the Dough is Rising
After kneading the flour, place it in a large, oiled bowl and comprehend it with a clammy towel or a wrap for one to 2 hours to allow the yeast to grow. The optimal temperature for the fermentation process is inside a range of 75-85 degrees Fahrenheit; lower temperatures cause the dough to accept a longer time to ferment while higher ones produce unsavory flavors.
If your oven has a proof function, you tin can set it at this temperature for better results.
During cold atmospheric condition, the dough rises faster because the air is lighter than during hot atmospheric condition. It explains why people living in high altitude areas should employ a small amount of yeast. After the two-60 minutes period, knead the dough to remove any devious bubbles.
Y'all can allow a second rising after kneading it as at that place is twice as much yeast working in the dough. The 2nd ascension is optional and should last thirty minutes to an hour. Knead it once more earlier shaping it.
Shaping the Dough
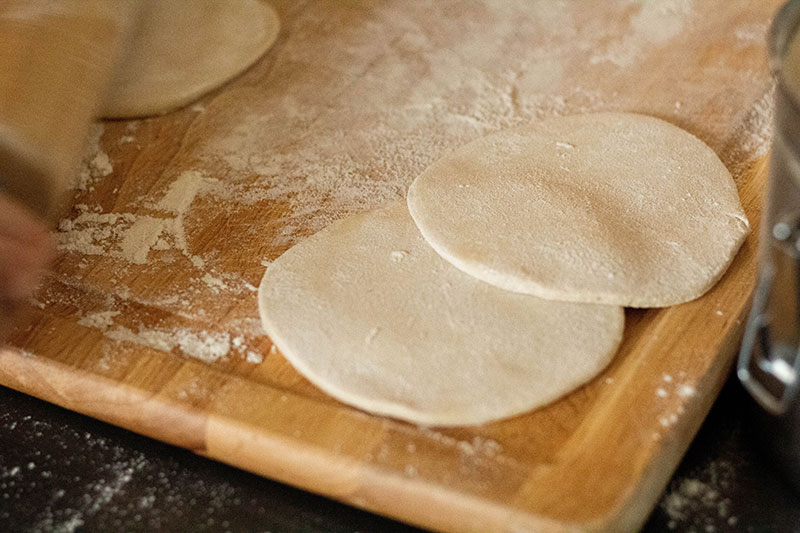
After kneading the bubbles out, allow the dough to sit for a few minutes earlier baking. This process helps the gluten to relax and makes shaping the dough easier.
If you are preparing the famous French bread, cutting the dough in the middle to make two equal shapes. For the Italian style breadstuff, cut the dough and make oval shapes for baking. Be sure to tuck the bottom into the residue of the dough and so that it is non left exposed to create an even texture when blistering.
Place the dough in a bowl and ensure the shine side faces downwards. The basin should be slightly oiled and floured to avoid sticking.
Before placing the dough in the oven, cover the bowls with a damp towel to allow it to rising and go out information technology for an hour. Poke the dough gently on the side to decide if it's set for blistering.
If it does non leap back immediately and the finger leaves a slight impression, it is ready for baking. The dough should rise reasonably to ensure it bakes evenly; over-risen dough does not result in a lighter loaf of breadstuff. On the opposite, the dough collapses and forms dense, unsavory breadstuff.
Equally such, if the dough over-rises later shaping, knead information technology out and reshape it. This is why experts advise bakers to use flour that can withstand several risings before the pause down of gluten.
Dressing up the Dough for Blistering
You can brand simple patterns on the upper function of the dough by making cuts. The patterns create ample space for the bread to expand. Y'all also want to wearing apparel upwards the dough for a shinier bronze surface. Egg white wash is a favorite amidst nearly people as it creates a glowing bronzed upper surface of the broiled loaf.
Yet, if you want a crunchy crust, apply cold water on the top using a pastry brush. It not just creates a crunchy crust simply also enhances the steaming process. Alternative ingredients used for dressing up the dough include whole egg launder, milk wash, butter, and egg yolk wash.
The temperature for Baking the Dough
The ideal temperature depends on the type of staff of life you are baking. Lean-dough loaves of bread, for example, bake at 190-210 degrees Fahrenheit while heavier dough bread is done at 180-200 degrees F. There are two methods of baking the bread; you tin preheat the oven for 15 minutes to 475 degrees Fahrenheit or place the dough directly into the oven without preheating.
If you lot are preheating the oven, ensure you create steam by placing a pan filled with water and leave information technology to oestrus at that temperature (475). Other ways of creating moisture in the oven include:
- Misting: spray the water on the side of the oven and close the door. The heat converts water to steam to increase the moisture level in the oven.
- Using ice cubes: place a glass or ceramic bowl of ice cubes in the oven and go out information technology for x-15 minutes. Remove the bowl when all the ice has melted.
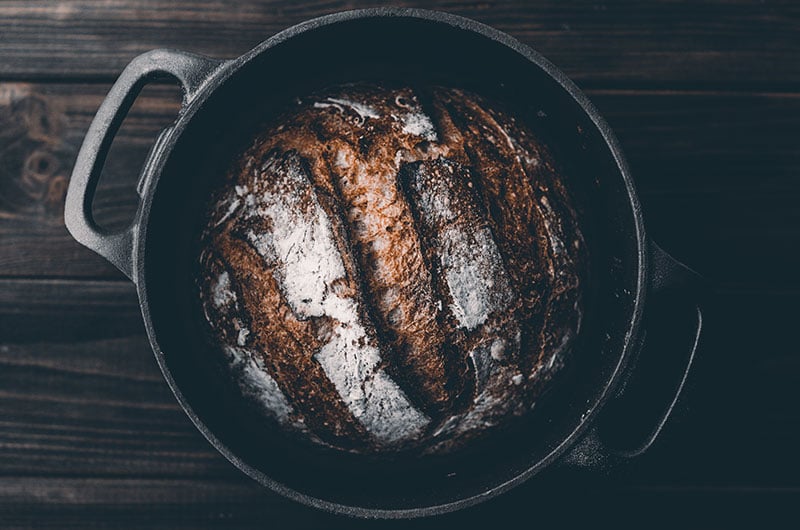
Once the oven is preheated, add two to three cups of water to the pan earlier placing the dough on the rack for baking. Leave it to bake for 20 minutes though yous can bank check for browning after 15 minutes.
If the crust is too brown, reduce the temperature to 450 degrees Fahrenheit. When fully broiled, touch on the underside of the loaf to see if it feels soft and hollow; if it doesn't, leave information technology in the oven for five more minutes.
The recipe should help you decide the doneness of the loaf. Professional bakers recommend checking a few minutes earlier the actual baking time elapses especially if the chaff is developing a dark color. Usually, the crust should have a aureate brown color.
If yous want a soft, crunchy crust, switch off the oven when the bread has baked and leave information technology for 5-10 minutes without opening the door. Properly done staff of life is firm; if it's as well hard, then information technology has been overdone. Breads that are too spongy, on the other paw, are undercooked and may need a few more minutes in the oven.
Times for Baking Dissimilar Types of Breadstuff
| Type of Bread | Time |
| Thin flat bread | 5-15 minutes |
| Hearth breads, breads broiled on flat places and big country round | 35-l minutes |
| Buns and Rolls | 15-20 minutes |
| Quick breads | 45-75 minutes |
| Thick flat breads | 15-25 minutes |
| Basic loaves baked on a loaf pan | 45-hour |
If you don't want to serve the staff of life immediately, it is imperative to cool it properly immediately after baking. After removing it from the oven, place information technology on a raised wire rack to cool. The rack enhances uniform cooling by letting internal steam to escape through the crust. Additionally, information technology prevents the bottom function of the bread from getting damp every bit it would be the case it was left on a pan or other flat surface that traps the steam.
-
ThermoPro TP19H Digital Instant Read Meat Thermometer for Grilling BBQ Waterproof
$18.99 $20.13
-

ThermoPro TP19 Ultra-fast Thermocouple Instant Read Thermometer
$29.99 $31.79
-
ThermoPro TP03 Digital Instant-Read Thermometer
$15.99 $16.95
Slicing the Staff of life
Permit the bread to cool before slicing it because information technology is more than difficult to slice loaves immediately subsequently removal from the oven. Place the bread on a flat, wooden surface and avoid using boards used for chopping veggies or meat to prevent contamination.
Source: https://buythermopro.com/guides/ideal-temperature-for-baking-homemade-bread/
0 Response to "What Is the Best Temperature to Bake Bread"
Post a Comment